Surfboard Wall Racks

Surfboard Wall Racks
$105.00
Description
- Display Your Custom Boards on Display Racks!
- Protect your boards from Damage!
- Give them a safe place to stay!
- Hand-Crafted – Made in USA!
- Classic Design with Artistic Flare!
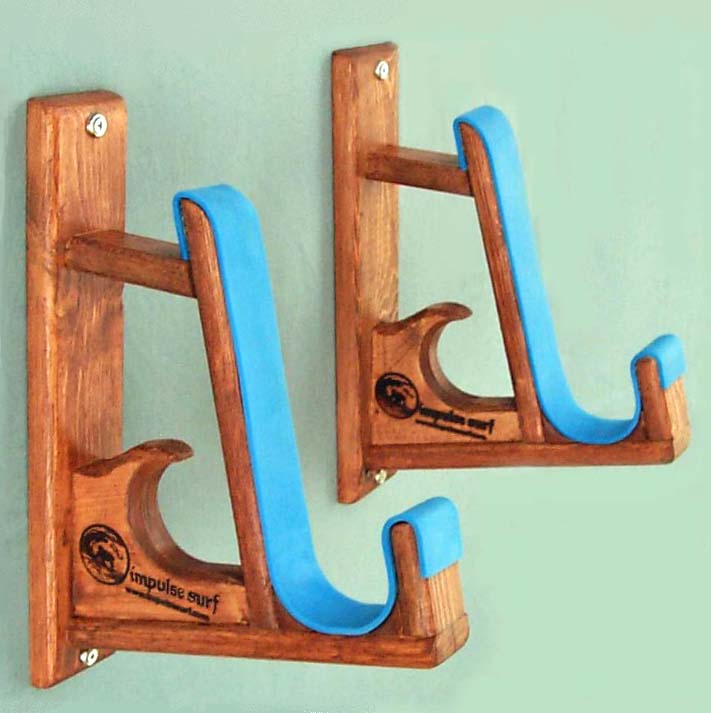
These beautifully finished wall racks safely cradle your board while handsomely displaying the artisan’s craftsmanship.
You can feel confident too in placing your big wave guns in these racks! Whether its redwood, agave, balsa wood, or foam core—these racks have been tested to 100 pounds and will work with board thicknesses up to 3”. They are the strongest wood racks available on the market!
Their strength comes from tested design and excellent materials. The wood is Douglas-Fir and White-Pine. Both are indigenous to the US Pacific North West. Our racks are cut, shaped, glued, assembled, stapled, sanded, and imprinted with our logo. We use a natural Teak-Wood sealer stain, and finish coats with satin lacquer. A soft adhesive backed foam cushion can be molded into the rack contours. Each set of racks are inspected and hand packaged— made here in the USA.
To sum it up the functional design gently and elegantly displays longboards, shortboards, snow boards, or skate boards and facilitates both safe storage and convenient access to your gear.

Package with fasteners includes: Tools which may be needed:
2 – Wall Racks Electric drill or screw gun
2 – Adhesive backed soft pads 1/8”, 1/4”, 3/8” drills
4 – 2 ½” wood screws Philips screw drive
4 – Decorative washers’ Tape measure
2 – Toggles Pencil
2 – 3” machine screws for toggles
2 – ¼” plastic wall anchors
- Determine where your board is to be located.
- Slide a rack in behind board and make a pencil mark on the wall at its bottom edge. Measure the distance from floor to determine rack height.
- The distance between racks is determined by board length, but for most surfboards 4 feet works. Measure from the floor your desired height and position the first rack. Hold it in place while drilling through the top hole of the rack with an 1/8” lead hole into the wall.
- If you drill into a stud, fasten with a Philips screw driver using the 2 ½’ wood screws and washer (do not over tighten). If there is no stud, enlarge the hole to 3/8” and use the toggle fastener system. (step 5)
- Pace the black nylon washer onto the machine toggle screw. Slide screw through top hole of rack. Thread on toggle nut aprox. ¼”. Squeeze toggle together and slide fastening system into 3/8” hole. Push screw, washer, rack and toggle into the wall allowing the toggle to spring fully open. Then pull the rack back outward insuring that it has toggled fully open and tighten.
- Position the second rack at the desired distance from floor as the first rack. Repeat step 4.
- Adjust racks so they are vertical. Then through the bottom holes in racks, drill a 1/8” lead hole. Again use wood screws with washers if you have drilled into a stud. Or with no stud—rotate the racks slightly and enlarge the hole to ¼”, insert plastic anchors and secure with wood screws and washers.
- As you snug up all screws, there is some flexibility in rack position. Do not over tighten.
Grab firmly on each rack. They should feel securely connected to the wall.


